# Top 10 AI Outfit Generators to Revolutionize Your Style in 2024
In the fast-paced world of fashion technology, artificial intelligence is reshaping how we discover and create personal style. Whether you’re looking for daily outfit inspiration or planning a complete wardrobe overhaul, AI outfit generators offer smart, personalized solutions. These tools use advanced algorithms to analyze your preferences, body type, and current trends, delivering tailored fashion recommendations in seconds.
How AI Outfit Generators Work
AI outfit generators leverage machine learning and computer vision to understand style elements, colors, and fits. By processing vast datasets of fashion images, these systems learn what combinations work best for different occasions, body shapes, and personal tastes.
Personalized Style Recommendations
Using your input—such as preferred colors, existing wardrobe items, or style icons—the AI suggests cohesive outfits that match your unique aesthetic. It can even account for weather conditions and local trends.
Top 10 AI Outfit Generators in 2024
Here are the leading tools transforming fashion discovery this year:
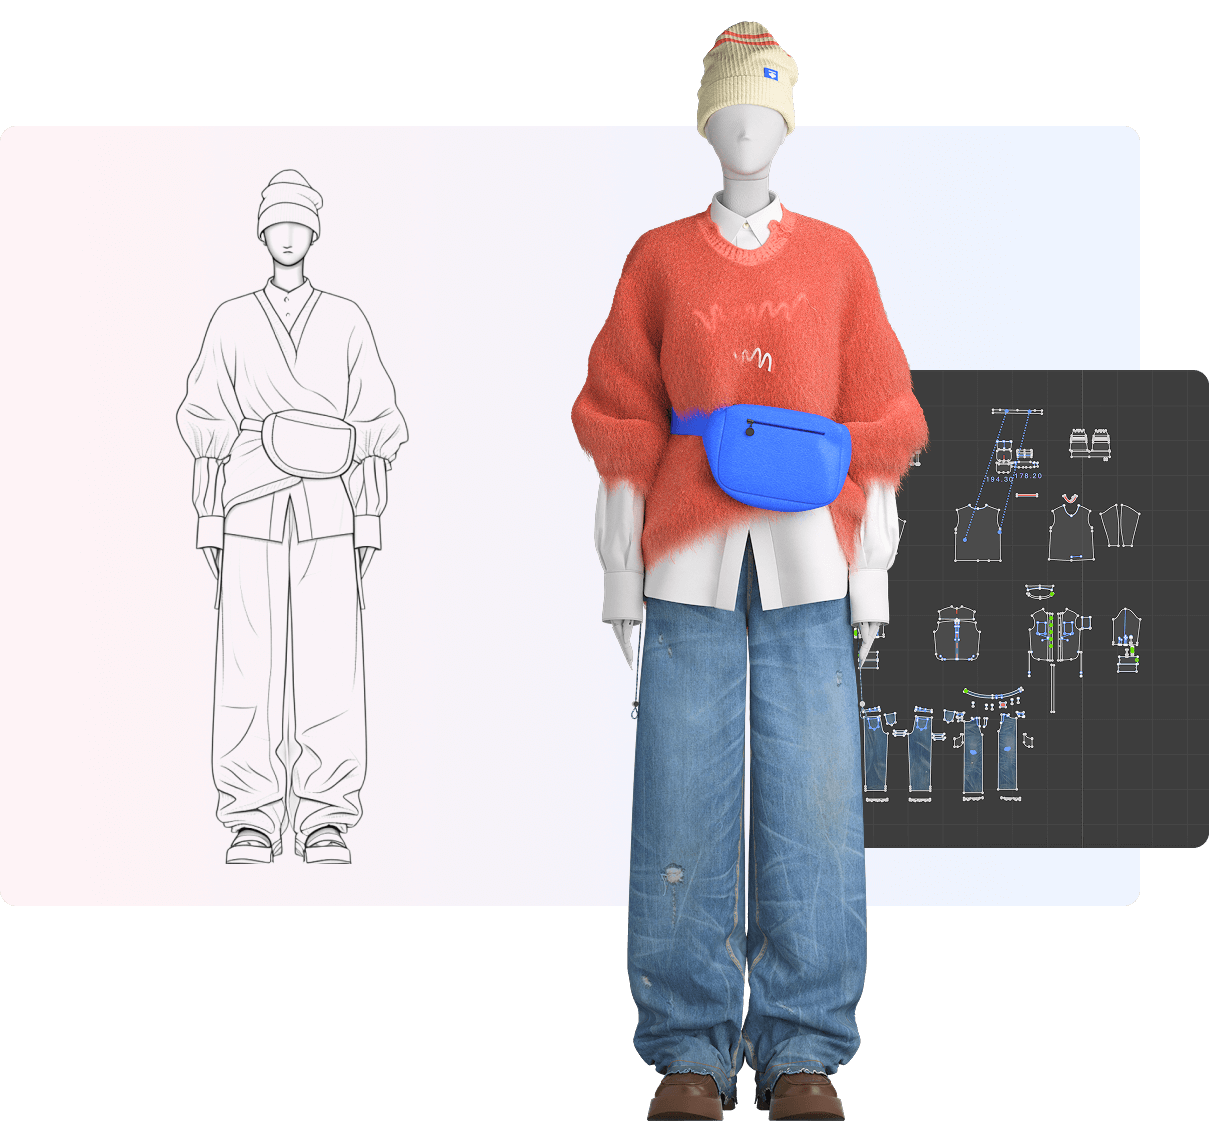
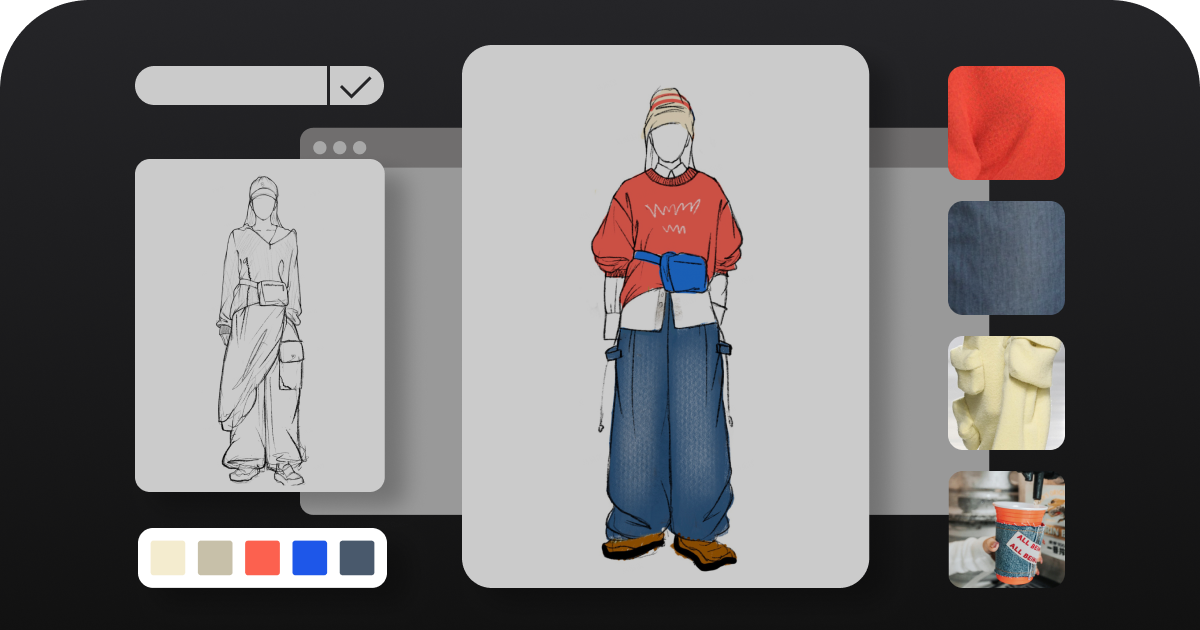
1. Style3D AI Fashion Designer
This platform offers realistic 3D outfit visualizations. If you’re searching for a versatile ai outfit generator, Style3D stands out for its accuracy in fabric simulation and fit prediction.
2. OutfitAI
Ideal for streetwear enthusiasts, OutfitAI uses trend forecasting to keep your style current.
3. ClosetGenius
This app scans your existing wardrobe and suggests new combinations, reducing fashion waste.
4. VogueVision AI
Focuses on high-fashion edits and red-carpet inspirations, with celebrity style analysis.
5. EcoChic AI
Promotes sustainable fashion by highlighting eco-friendly brands and timeless pieces.
6. FitFinder
Specializes in size accuracy and inclusive sizing for all body types.
7. TrendSculptor
Real-time trend updates from global fashion weeks integrated into everyday wear.
8. StyleSync
Syncs with your calendar to suggest outfits based on your events and meetings.
9. ColorMatch AI
Uses color theory to create harmonious outfits based on your skin tone and preferences.
10. BudgetStylist
Focuses on affordable fashion, suggesting dupes for designer items and discount alerts.
Benefits of Using AI for Fashion
AI generators save time, reduce decision fatigue, and introduce you to styles you might not have considered. They also help build a sustainable wardrobe by maximizing the use of existing clothing items.
Frequently Asked Questions
Are AI outfit generators free?
Many offer free basic versions, with premium features available via subscription.
How accurate are the size recommendations?
Accuracy improves as you provide more feedback; always check size charts before purchasing.
Can AI replace human stylists?